

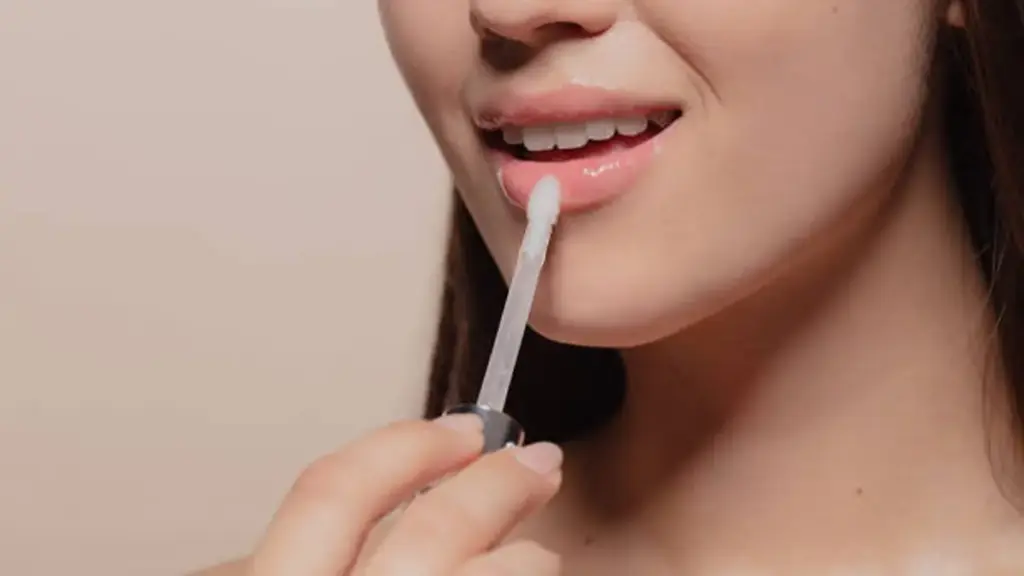
The lip gloss sampling process is where a formula concept is tested, refined, and developed into a market-ready product. Unclear feedback on details such as tackiness and viscosity can result in repeated R&D adjustments, longer development timelines, and additional production costs before the product reaches the market.
This guide explains the five key stages of the lip gloss sampling and approval process. We detail the specific criteria for evaluating texture, finish, and packaging compatibility, and provide a framework for delivering actionable feedback to your lab—ensuring the final production batch matches the approved master standard.
Why Sampling Is Critical in Lip Gloss Development
Sampling helps brands confirm that a lip gloss has the right texture, safety standards, and market potential before moving into full production. It’s non-negotiable risk management.
Validating Technical Performance and Safety
A lip gloss formula specification alone cannot fully show how the final product feels during application. Key sensory attributes like stickiness, cushion, and glide are entirely subjective and user-perceived. Sampling is the only way to physically test and refine these characteristics. Multiple sample iterations are often needed to achieve the right balance between comfort and wear, or between shine and tackiness.
Samples also provide an early warning system for stability and compatibility issues. Before moving into full stability testing, lab samples can help identify potential issues such as phase separation, pigment settling, or viscosity changes. Filling samples into the intended packaging component lets you check for interactions—such as leakage, packaging deformation, or compatibility issues between the formula and applicator components—that could derail a launch.
On the safety front, manufacturers usually provide ingredient information with the sample for regulatory review.. This allows for an immediate regulatory check to ensure colorants are approved for lip use in your target markets and to screen for potential allergens. The approved final sample then becomes the physical “master standard” for quality control, ensuring every production batch matches the exact color, texture, and performance that you signed off on.
Confirming Commercial Viability and Brand Alignment
The lip gloss market is incredibly crowded. Sampling allows brands to evaluate customer preferences and product suitability before investing in a full launch. You can validate whether your concept—be it a “clean beauty” gloss or a skincare-hybrid—actually appeals to your target audience. Getting feedback on near-final samples allows for rapid iteration on shades, flavors, or texture.
The quality of the sample is a direct reflection of your brand. A high-quality, stable sample in good packaging communicates a premium image and builds confidence. A poorly performing sample erodes trust immediately. For private label brands, sampling is essential for comparing suppliers and selecting formulas that align with their brand’s specific positioning, whether it’s luxury, clean, or professional.
Ultimately, sampling is a massive cost-control tool. It’s far cheaper to identify and fix a problem in a small lab batch than it is to deal with a large-scale batch rejection, a product recall, or a reformulation after launch. It validates manufacturability and ensures the formula is robust enough for scale-up, preventing costly production issues down the line.
Step 1 Define Your Product Requirements
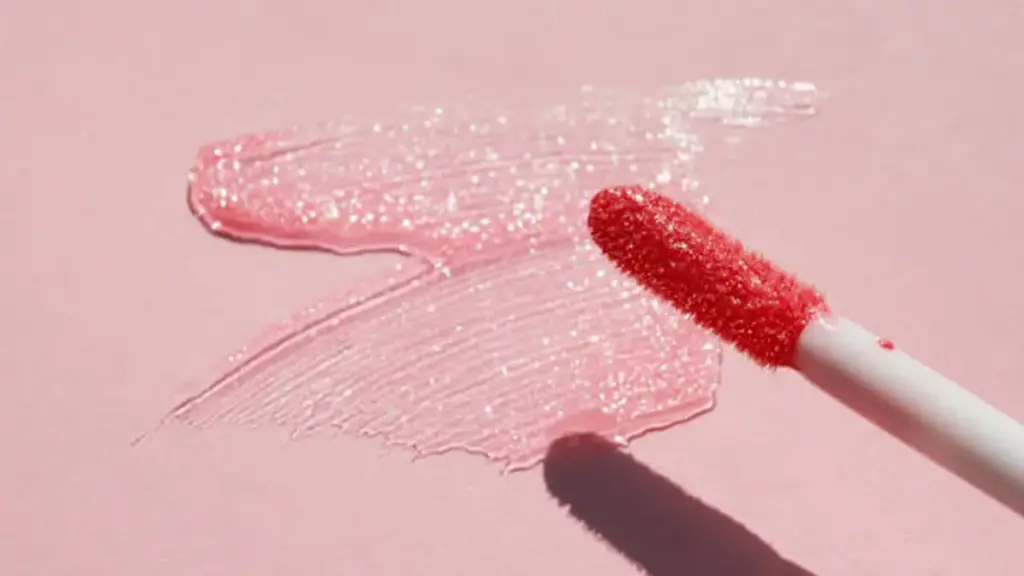
Clearly defining your product requirements gives your manufacturer a precise development target, preventing wasted time and money on misaligned samples.
Texture and Finish
Before any lab work starts, you need to decide how the gloss should feel and look. This isn’t just about aesthetics; it dictates the entire base formulation. Get specific about the core sensory details and performance goals.
- Core Texture: Define the key texture attributes. Is the viscosity fluid and serum-like, or a thick gel that can suspend glitter? Define the stickiness on a scale from low tack (for comfort) to high tack (for longevity). And describe the feel—should it be cushiony and soft, or a barely-there lightweight film?
- Visual Finish: Define the end look. A high-shine, “wet” finish requires different oils and polymers than an opaque-cream or a vinyl-lacquer effect. If you want shimmer or pearl, the lab needs to know what kind and how intense. This decision guides pigment selection and base clarity.
- Performance Link: Connect the texture to your goals. A comfortable, low-tack gloss might only last a couple of hours. A longer-wearing formula will likely have more stickiness. Brands should define this balance between comfort and wear time at the beginning of development.
Color and Transparency
Your color strategy determines the pigment load and ingredient compliance. A clear gloss has different formulation constraints than a fully opaque one, and the pigments you can use depend entirely on where you plan to sell it.
- Opacity Level: Decide on the coverage. This ranges from a crystal-clear base designed to showcase glitter to a sheer tint that lets natural lip color show through, or a fully pigmented gloss with lipstick-like opacity. Each level requires a different approach to pigment dispersion and stability.
- Shade Direction: Give the lab clear targets. This means providing color families (nudes, berries, corals), undertones (cool, warm, neutral), and details on any effect pigments like pearls or duochromes. Supplying benchmark products or photos is always better than just using descriptive words.
- Conformidade regulatória: Identify all target sales regions upfront. Colorant regulations for lip products vary significantly between the US, EU, and Asia. A pigment approved for use in one region might be banned in another, so this check is non-negotiable to avoid a complete reformulation later.
Packaging Preferences
Packaging selection should be considered as part of the overall product development process. The component choice must be compatible with the formula’s chemistry and viscosity, and it has to align with your brand’s market position.
- Packaging Format: Select the primary component based on the formula. A thick, gel-like gloss works well in a squeeze tube, but a lower-viscosity formula is better suited for a rigid tube with a doe-foot applicator. The wrong pairing leads to filling problems or a poor user experience.
- Material Compatibility: Make sure the plastic or glass is chemically compatible with your formula. Certain oils and fragrances can cause materials like PETG to degrade, crack, or leak over time. This needs to be tested to prevent product failure on the shelf.
- Brand Aesthetics: Align the packaging’s look and feel with your brand. This includes the color and finish of the tube and cap, as well as the decoration method (e.g., silk screen, hot stamp). A premium brand might opt for a weighted glass component, while a mass-market brand might prioritize a standard plastic tube.
Launch Your Custom Cosmetics Line Faster.
Step 2 Review the First Lab Sample
The first lab sample provides the first opportunity to evaluate whether the formula matches the original product brief. You’re confirming if the physical gloss matches the brief’s promises on shine, feel, and performance before moving forward.
Once you get the first lab sample, the goal is to systematically evaluate it against the technical brief you created. This isn’t just about whether you “like it.” It’s a structured checkpoint to see if the formulation is on the right track. The review is broken down into three core areas: how it looks, how it feels, and how it performs.
Shine and Appearance
The visual impression is the first test. It has to match the brand’s vision and the technical specs. Under consistent lighting, you’ll need to check the following points.
- Confirm the gloss delivers the intended level of shine specified in the brief.
- Check the visual finish for clarity, reflectivity, and opacity.
- Verify color fidelity against the target shade and check how pigment dispersion affects the final look.
- Ensure the finish aligns with the brand direction, whether it’s high-gloss, sheer, or pearlescent.
Texture and Application
How the gloss feels and applies is critical. A beautiful color with a terrible texture is a failed product. This part of the review focuses on the user experience and identifies any immediate formula flaws.
- Assess spreadability to ensure the sample glides evenly without dragging.
- Check the viscosity and feel. Is it sticky, creamy, or lightweight as intended?
- Test the applicator’s performance for product pickup, deposit, and even distribution.
- Identify any grittiness, separation, or stringiness that means the formula needs refinement.
Formula Performance
Finally, the formula should be evaluated against the expected performance requirements. This means looking at its wear behavior and early signs of stability issues. These observations dictate the technical feedback for the lab’s next iteration.
- Verify the sample meets the performance expectations set in the technical brief.
- Assess its wear behavior, specifically how long the shine and comfort last.
- Look for early stability indicators like phase separation, oil bleeding (syneresis), or texture change.
- Document any necessary adjustments to emollients, waxes, or film-formers for the next round.
Step 3 Refine Flavor and Fragrance Options
This step is all about finding a flavor that works without creating safety issues. The goal is an appealing profile that’s strong enough but doesn’t taste bitter or violate regulations.
Determining Usage Rates and Sensory Balance
You have to get the concentration right. Flavor usage levels should be adjusted according to the flavor supplier’s recommendations, safety documentation, and regulatory requirements. Only push it higher, up to 1%, if the safety data sheets (SDS) and IFRA limits confirm it’s safe and you genuinely need a stronger profile. Too much flavor oil just creates a bitter, unpleasant aftertaste.
Process matters, too. Add the flavor oils only after the melted gloss base has cooled to a workable temperature, around 140°F (60°C). Adding it when the base is too hot can cook off the volatile components, weakening the flavor and scent. A cooler base also helps it mix in evenly without issues. Test the final samples side-by-side to make sure the taste and scent are noticeable but not overpowering.
Verifying Lip-Safe Compliance and Allergen Status
Because lip gloss gets ingested, safety isn’t optional. Every ingredient in your flavor or fragrance system must be documented and verified.
- Lip-Safe Ingredients: You need to confirm that all flavor components are explicitly designated as lip-safe, food-grade, or made with GRAS (Generally Recognized as Safe) ingredients. This isn’t something to guess about; the supplier documentation must state it clearly.
- IFRA Compliance: Check the IFRA (International Fragrance Association) certificate for your chosen fragrance. It will specify the maximum usage level for lip products (Category 1). Your final formula’s concentration cannot exceed this limit.
- Allergen Review: Go through the flavor oil’s documentation to identify any of the common cosmetic allergens. If any are present, you’ll likely need to declare them on the final product label, depending on your target market’s regulations.
Step 4 Provide Effective Feedback for Revisions
Effective feedback should clearly describe the issue, provide specific examples, and include testing conditions. Vague notes waste lab time and money, so be precise with what needs to change and why.
| What Feedback Helps R&D Teams | Common Feedback Mistakes to Avoid |
|---|---|
|
Structure feedback around performance attributes. Detail the texture, shine, scent, moisturization, and actual wear time. |
Vague comments. Instead of “I don’t like it,” specify “it feels gritty on the lips.” |
|
Provide real-world context. Note the environment (e.g., humid outdoor vs. air-conditioned indoor) and how you used it (one layer vs. multiple). |
Bundling multiple requests. Prioritize changes, like “First, fix the stickiness. Second, if possible, increase the pigment.” |
|
Use sample codes and comparisons. Refer to “LG-23B,” not “the pink one.” Compare it to previous versions like, “less sticky than LG-23A.” |
Ignoring test conditions. “It didn’t last” is useless without context on what you were doing (eating, drinking, etc.). |
|
Make requests actionable and quantifiable. Ask to “reduce stickiness by about 20%” rather than just “make it less sticky.” |
Contradicting project constraints. Don’t ask for an ingredient that violates the “clean” or “vegan” brief. |
|
Report on safety and claims support. Flag any irritation or note if a “long-wear” claim isn’t met under normal conditions. |
Providing delayed or disorganized notes. Document feedback immediately in a shared, structured format to avoid losing details. |
Step 5 Approve the Final Production Sample
This final check confirms that the production sample matches the approved standard before the product moves into commercial production.
Evaluating the Sample Against Specifications
The final production sample isn’t just a formality; it’s a rigorous check against a pre-defined spec sheet. Every attribute has to be on target. The evaluation focuses on physical, functional, and chemical quality to ensure the scaled-up product is identical to what was approved in the lab.
- Compare the sample’s color, texture, and scent directly against the approved master standard. This must be done under controlled lighting to ensure color fidelity.
- Verify the product’s functional performance. This includes the feel during application, how long it wears, and how well it works with the final packaging components like the wand and wiper.
- Conduct all required quality control tests. This means checking for microbial purity and key chemical parameters to confirm the batch is safe and stable for consumer use.
- Ensure the final product meets every regulatory requirement for its target market, from the ingredient list (INCI) down to the specific warnings on the label.
The Approval Protocol and Record-Keeping
Approval isn’t a handshake. It’s a documented, GMP-driven process that locks in the decision and protects both the brand and the manufacturer. The paper trail is just as important as the physical sample.
- Document all test results, observations, and any deviations in the batch production record (BPR). This is a non-negotiable step under Good Manufacturing Practices (GMP).
- Get a formal, written sign-off from both the Quality Assurance team and the brand owner. This signature is what officially releases the batch for shipment.
- Based on the full evaluation, the batch is either approved, sent for rework if issues are minor and correctable, or flat-out rejected if it fails any critical standards.
- Securely store properly labeled retention samples from the approved batch. These are essential for future reference, shelf-life monitoring, and investigating any customer complaints down the line.
Choosing a Reliable OEM Partner for Lip Gloss Development
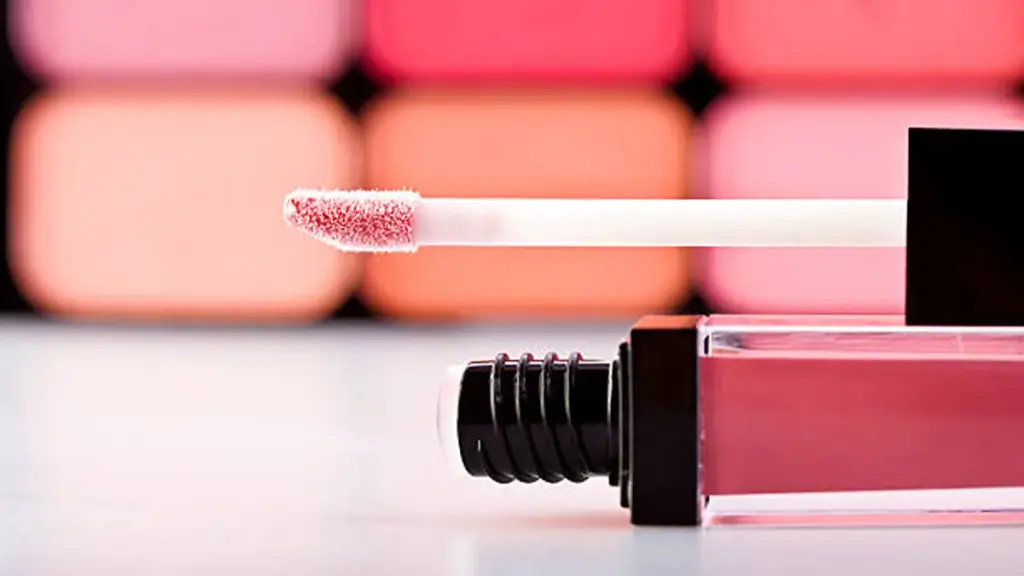
Selecting the right manufacturing partner is an important part of the lip gloss sampling process. A reliable OEM supplier should not only provide quality formulas but also support brands through product development, sample evaluation, packaging coordination, and final production.
With more than 30 years of experience in cosmetics manufacturing, Siloran provides OEM and ODM solutions for color cosmetics and skincare products. Established in 1991, Siloran operates a 40,000-square-meter production facility with a professional R&D team and multiple automated production lines. The company has obtained GMP and ISO22716 certifications and supports customized solutions including formula development, packaging design, and product manufacturing.
From initial consultation and sample testing to mass production and delivery, Siloran helps brands create consistent products while maintaining quality control throughout the development process. This integrated approach allows private label brands to move from product concepts to market-ready cosmetics with a reliable manufacturing partner.
Typical Lip Gloss Sampling Timelines
Stock formula sampling takes about 3-6 weeks. A fully custom formula from scratch extends this to 8-14 weeks or more due to detailed R&D and feedback cycles.
Timelines for Stock & Private Label Formulas
This is the quickest route, typically taking 3 to 6 weeks from the initial inquiry to having final samples approved. The process involves selecting from a supplier’s library of existing, pre-tested formulas. The main work is making minor adjustments, like picking a specific shade or flavor. Your key steps are defining the brief, evaluating the off-the-shelf samples, and giving the final confirmation.
Timelines for Fully Custom Formulas
Developing a new formula from scratch pushes the timeline to 8 to 14 weeks, and sometimes longer. This is a much heavier lift that requires detailed R&D, creating multiple lab variants, and going through several cycles of client feedback. It also includes initial stability testing to make sure the formula works. This path is necessary for brands that need unique textures, want specific performance claims, or have novel ingredient combinations in mind.
Frequently Asked Questions
How does the cosmetic product sampling process work for lip gloss?
The process begins when a lab creates a prototype based on a brand’s specific requirements for shade, texture, finish, and packaging. This sample then goes through client review and revisions. Once approved, it undergoes stability and compatibility testing to ensure it can be manufactured reliably at scale before full production starts.
What is a Golden Master sample in cosmetic manufacturing?
A golden master sample is the single, final, and formally approved physical version of a product. It serves as the official benchmark for quality control. All future production batches must match this sample in formula, color, texture, fragrance, and packaging to ensure consistency.
How many revisions can you request for a cosmetic formula sample?
Contract manufacturers typically include 1–3 rounds of revisions in their standard development process. Additional revisions are usually possible but may incur extra fees. This limit is in place because each change requires new research, lab work, and stability checks, which adds to the cost and timeline of the project.
Why do lab samples sometimes look different than final production batches?
Small differences can occur due to the massive change in scale. Lab samples are made with high precision in small quantities. Bulk production uses different equipment, has wider tolerances for raw materials, and involves different mixing and cooling processes. These variables can lead to slight variations in color, texture, or shine.
How should a brand test a new lip gloss sample?
A brand should conduct two primary types of tests. First, test on skin to evaluate safety (for irritation) and performance (application, feel, wear time, and color). Second, test the formula in its final packaging to check for compatibility, ensuring there are no leaks, color changes, or other issues over time.
Does a factory charge a lab development fee for custom makeup samples?
Yes, factories usually charge a one-time lab development fee to create a new custom formula. This fee covers the initial research and formulation work. There may also be separate charges for each round of physical samples produced. Often, these fees are waived or credited back if a brand places a production order that meets a minimum quantity.
Considerações finais
Skipping detailed sampling steps might trim timelines, but this structured process is the only way to safeguard your launch against costly batch rejections and brand damage. A formula that fails on the shelf erodes customer trust instantly.
Don’t guess on texture or performance—verify it. We recommend requesting stock formula samples to evaluate our quality firsthand. Entre em contato com nossa equipe to discuss your custom formula requirements and start the development process.

 Portuguese
  English
  Arabic
  Dutch
Dutch  French
  Russian
  Spanish